Building CompuCell3D on Linux
Building CompuCell3D from source on Unix/Linux systems is fairly straightforward once all of it's dependencies have been satisfied. The following commands should build and install CC3D on most Unix/Linux systems.
Prerequisites
Hardware
CompuCell3D may build and run with less capable hardware, but has been tested with the following:
- 512MB RAM
- Hardware 3D Graphics Acceleration (most modern graphics cards)
Build Tools and Dependencies for PyQt4
In addition to the common Unix/Linux build tools, interpreters and, libraries, building and running CompuCell3D requires:
- Qt (version 4.6 or higher recommended)
PyQt (with OpenGL modules)
- SWIG (version 1.3 or higher recommended)
- VTK (with Python wrappers, version 5.4 or higher recommended)
Qwt (and PyQwt, version 4.2 or higher recommended)
- QScintilla (version 1.7 or higher recommended)
- CMake (CMake-GUI is recommended)
- Python (version 2.6 or 2.7)
Build Tools and Dependencies for PyQt5
In addition to the common Unix/Linux build tools, interpreters and, libraries, building and running CompuCell3D requires:
- Qt (version 5.6 or higher recommended)
PyQt5 (with OpenGL modules)
- SWIG (version 1.3 or higher recommended)
- VTK (with Python wrappers, version 6.3 or higher recommended)
- pyqtgraph (version 0.10.0 or higher recommended)
- QScintilla (version 2.9 or higher recommended)
- CMake (CMake-GUI is recommended)
- Python (version 2.7 )
When building CC3D 3.7.6 or higher we suggest you use PyQt5 dependencies (PyQt4 will also work but then you will have to change PYQT_VERSION in CMake to 4, because PYQT_VERSION=5 is a default in CMAKE)
On Debian distributions, for PyQt5-based CC3D builds the following command should install all the required dependencies:
sudo apt-get install g++ swig cmake-gui python-numpy python-pyqt5 python-pyqt5.qsci python-pyqt5.qtopengl python-pyqt5.qtsvg libvtk6-dev python-vtk6 python-dev libxml2-dev build-essential git
to get plots working you may need to install pyqtgraph
pip install pyqtgraph
For PyQt4 based-builds the following command should install all the required dependencies (to change PYQT_VERSION in CMake to 4 when using PyQt4):
sudo apt-get install libvtk5-qt4-dev g++ swig libqwt5-qt4-dev python-qt4 python-qscintilla2 cmake-gui python-qt4-gl python-vtk python-qwt5-qt4 python-dev libxml2-dev build-essential git
Source Code
Once the dependencies have been satisfied make directory where you want to store source code, in my case it is in /home/m/CC3D_GIT
mkdir /home/m/CC3D_GIT
cd /home/m/CC3D_GIT
Once the directory has been created, obtain the source code from our GIT repository using the following command:
git clone https://github.com/CompuCell3D/CompuCell3D.git .
This will clone CC3D Git repository into current directory (remember about the . at the end of last command - it is important)
Build Configuration: Starting CMake
CompuCell3D is configured using the CMake build system. The following command starts the CMake GUI:
cmake-gui
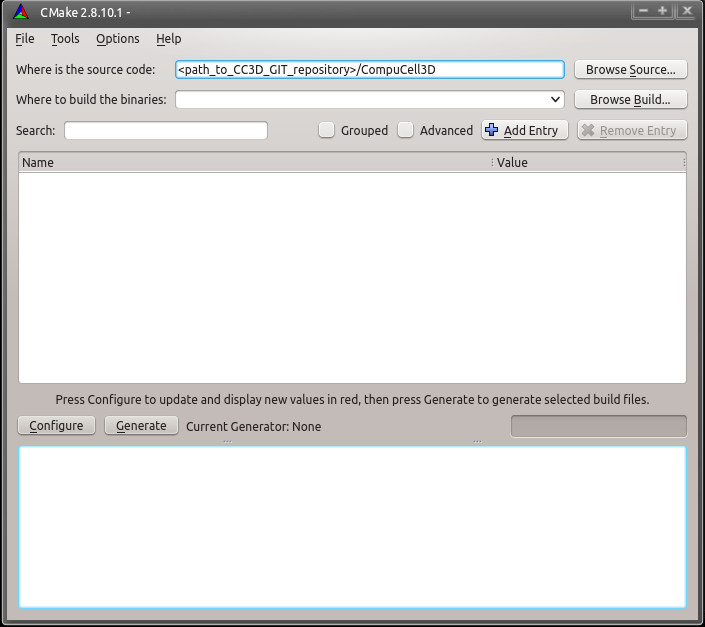
That will start the build system, click Browse Source... and select the CompuCell3D source directory from the CompuCell3D GIT directory we have created above - in my case the CompuCell3D source directory is located in /home/m/CC3D_GIT/CompuCell3D:
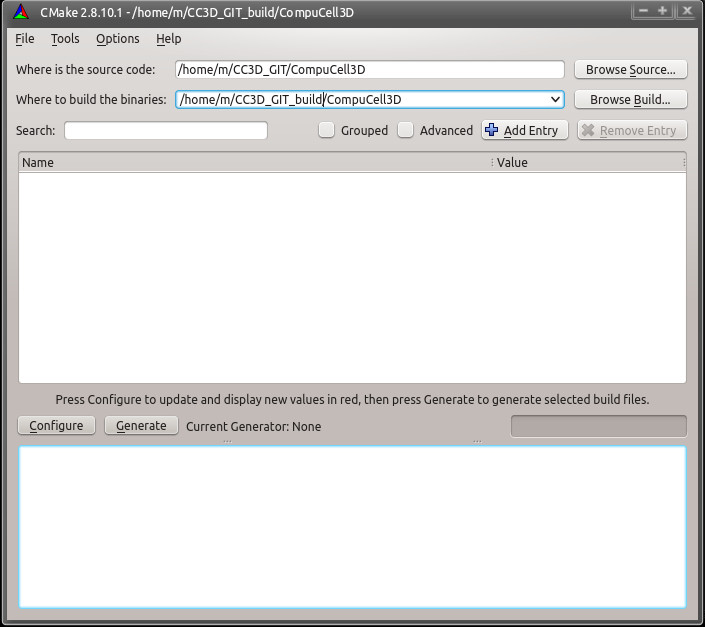
in addition to specifying source directory we also specify the location of the build directory i.e. a directory where compilation files will be stored. in my case it is /home/m/CC3D_GIT_build/CompuCell3D
Build Configuration: Selecting Build System
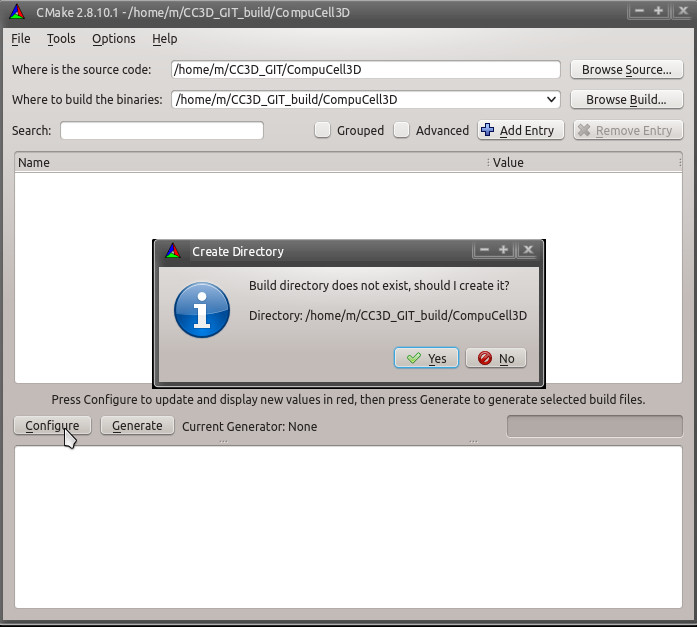
We are ready to click Configure. A dialog box asking to create the build directory will appear:
and then one asking about the build system:
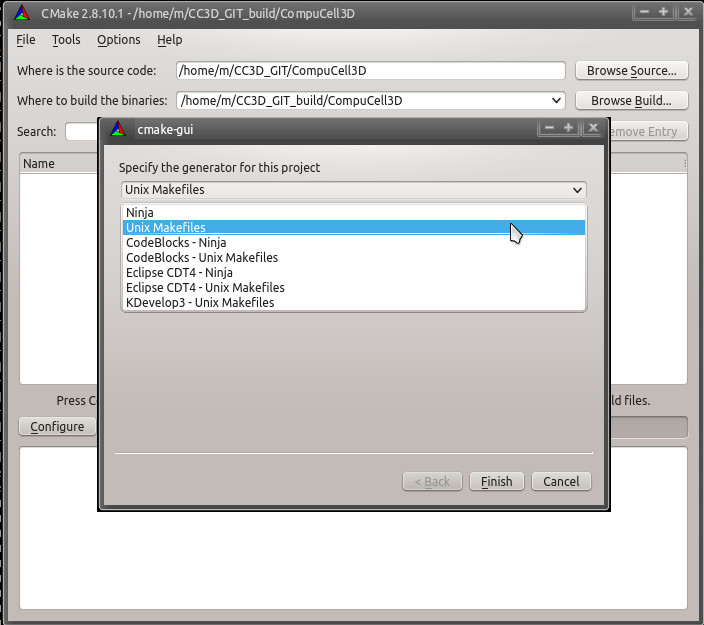
Select Unix Makefiles for the generator, select Use default native compilers and then click Finish. CMake will begin the configuration process. CMake will attempt to locate all of the dependencies installed above. If the following error occurs, ignore it:
CMake Error: Could not open file for write in copy operation /usr/local/pythonSetupScripts/Version.py.tmp
CMake Error: : System Error: No such file or directory
CMake Error at core/post_install_tasks/CMakeLists.txt:134 (configure_file):
  configure_file Problem configuring file
After the initial configuration has completed select Grouped and Advanced to make entering configuration values easier.
Build Configuration: CMAKE
In CMAKE confirm that CMake has located all the build tools. In the CMAKE_BUILD_TYPE field you may enter Debug, RelWithDebInfo or Release to specify the type of the binary you want to have - if you are developing extra modules compiling in the Debug or RelWithDebInfo can be helpful. By default Compucell3D build type is set to Release:
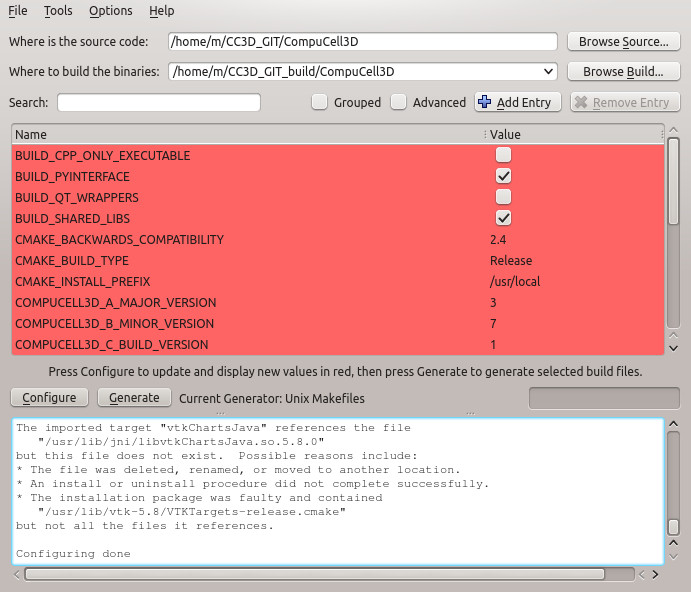
In the CMAKE_INSTALL_PREFIX field enter the directory you would like to install CompuCell3D into - this is important. We recommend that unless necessary you shold install CC3D into local directory - in my case it is /home/m/CC3D_install, .
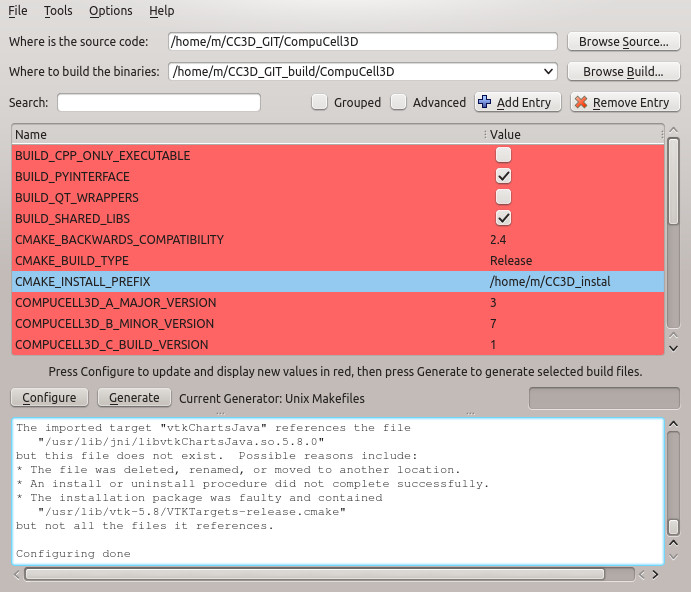
Click on Configure to have all the values updated.
Click on Configure and then click on Generate to generate the Makefiles, ignore any warnings. Exit CMake

Building
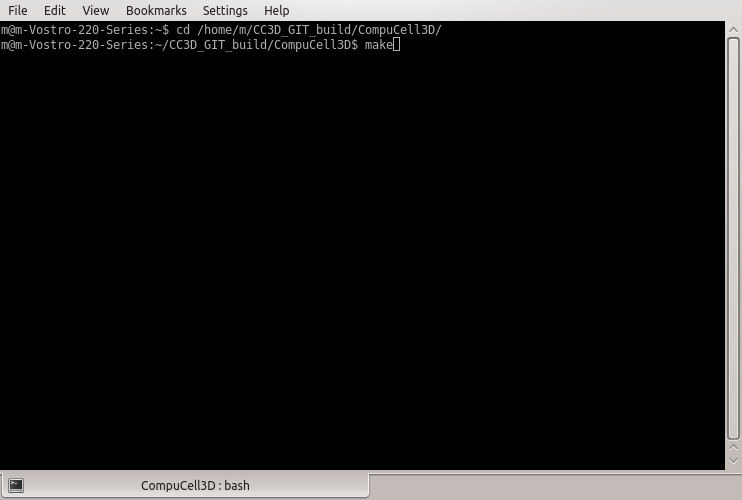
To begin compiling CompuCell3D enter the build directory specified in the Where to build the binaries field of CMake earlier and use the following command: In my case I type:
cd /home/m/CC3D_GIT_build/CompuCell3D
make
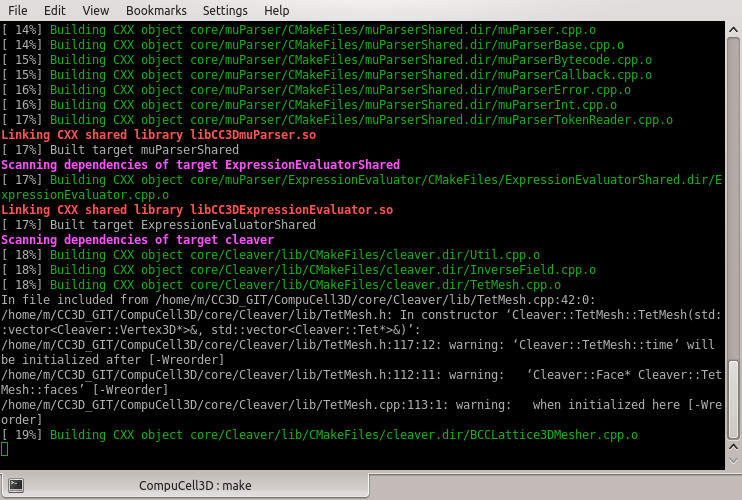
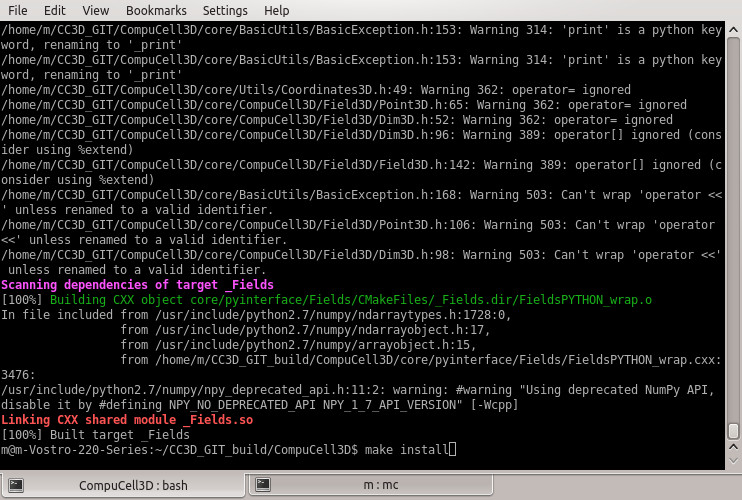
After the build begins you may see screen like this one:
Installing
Once compiling has completed CompuCell3D can be installed into the directory specified in the CMAKE_INSTALL_PREFIX field earlier by issuing the following command:
make install
Running
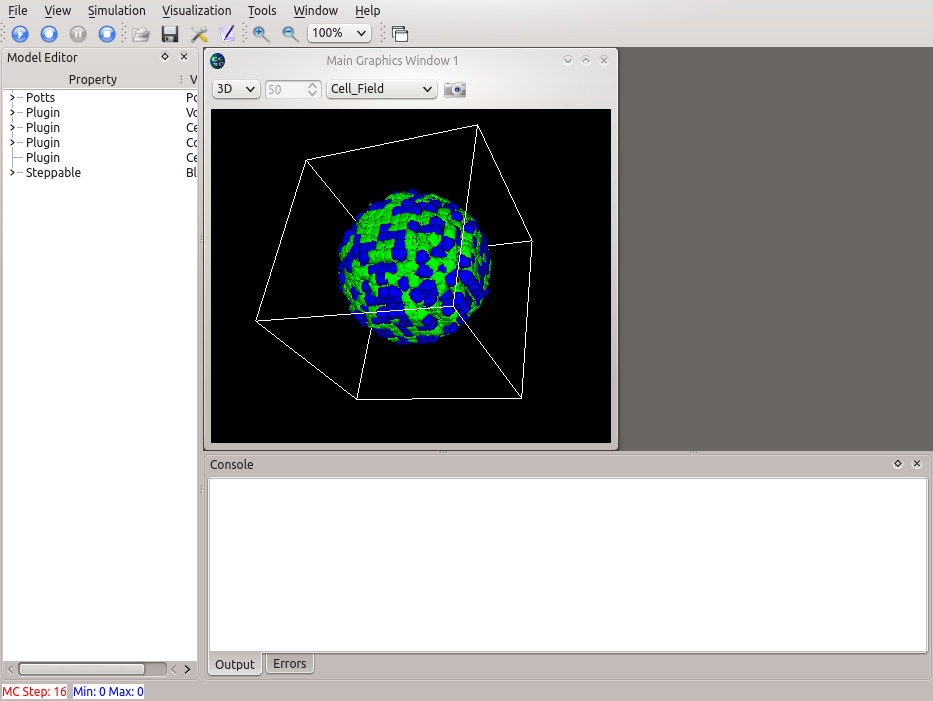
After CompuCell3D has finished installing you can start CompuCell3D by entering the installation directory (in my case it is in /home/m/CC3D_install):
cd /home/m/CC3D_install
and issuing the following command:
./compucell3d.sh
 CompuCell3D